Please note: for the scanning utility to open, the scanner needs to be switched on.
To access the scanning utility please go to the Navigator main menu and select Utilities. In the drop down menu select Navigator Scanning Utility.
The following window will then appear:
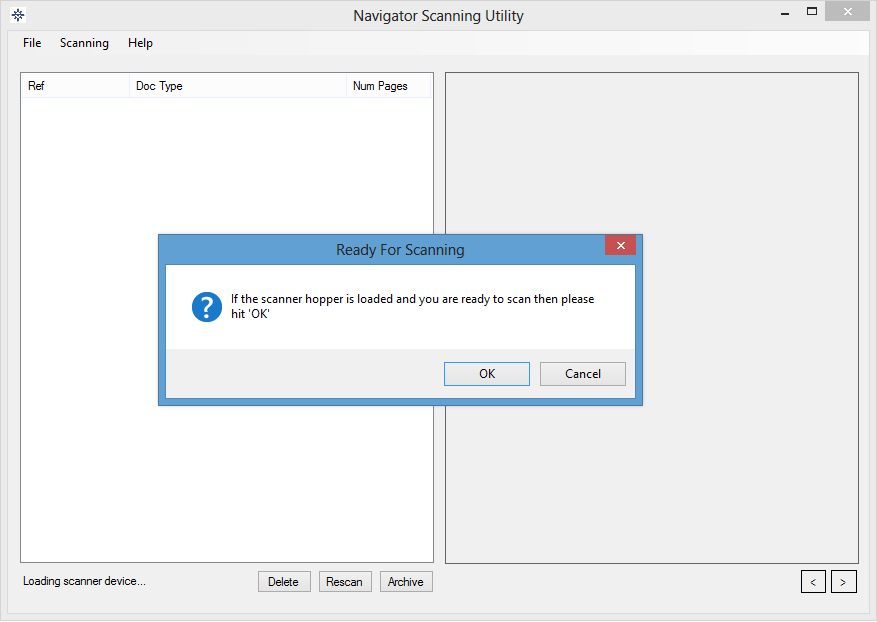
Put the required invoices onto the scanner with the barcode batch first and then the invoice behind it.
Which way you put the items on the scanner is dependent on the scanner that you are using. Generally, the documents are facing away from you and upside down. Again, however, this depends on the scanner that you are using.
Once the items are on the scanner select OK on the below message:
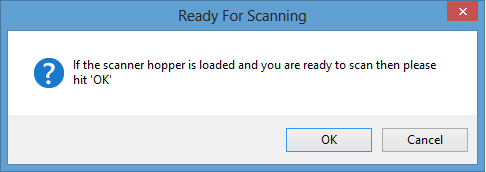
The items on the scanner will then begin to scan.
Once completed, the items will display on the Navigator Scanning Utility. An example below is shown:
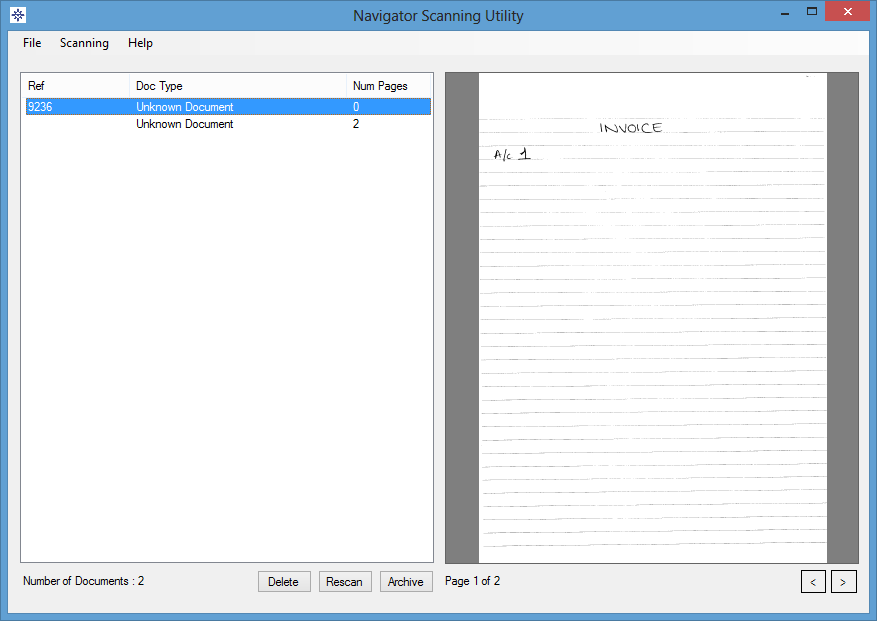
This window will display the Filing Reference and the number of pages scanned. So it one invoice was scanning a number 1 will appear in the Num Page column.
You can also view the invoice scanned by selecting on the required line. The invoice will then display on the right hand side of the window.
If you do not require an invoice that has been scanned, select the required line and click Delete.
When you are happy with the items scanned select Archive. This will then store the items scanned and attach them to the relevant invoices on the Navigator system.
The Scanning window will automatically close after the Archive button has been selected.